
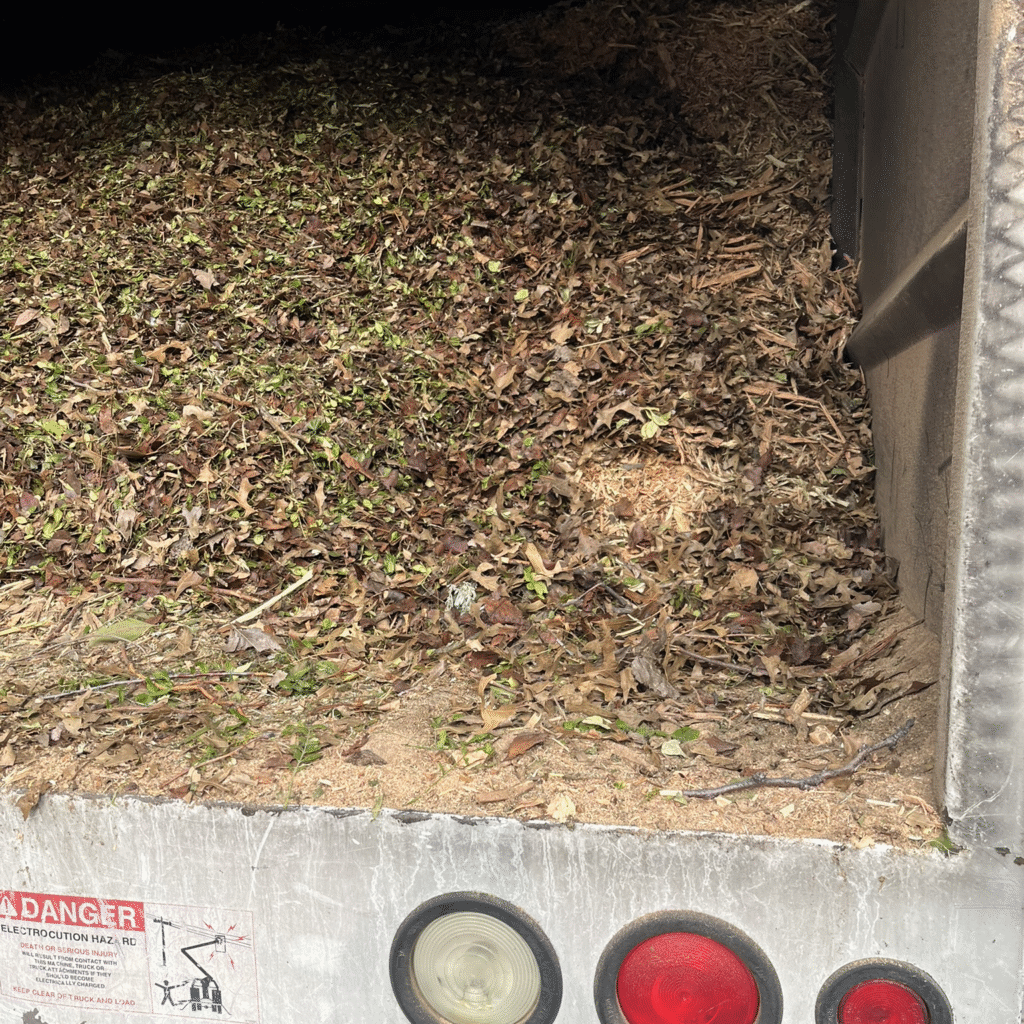
Fresh Mulch – Food for Worms Has Arrived!
I just received a new pile of mulch for the garden! This is always an exciting day because mulch is the number one thing that ensures I have premium soil for my garden. And it’s not only because of the mulch acting alone. You see, the mulch provides food for an enormous population of worms along with other organisms that live in my garden. The worms, fungi, and other soil microorganisms are actually the ones that create the amazing soil that supports all the plants and fruit trees. The adult worms come up from the depths of the soil to feed on the mulch (yummy to them) and breed more worms. And all of them leave their castings (worm poo) behind which is great for soil fertility. Making sure I have enough mulch for them to feed on in the garden is critical to good soil and consequently healthy plant growth.
Mulch is a fundamental concept in the permaculture approach. Putting down mulch to cover the soil has a lot of added benefits in addition to supporting good soils. It also helps to shield the roots of new vegetable plants from the hot summer sun. If you place it thickly enough it will discourage weeds, and it is very effective for conserving moisture by decreasing evaporation. Mulch allows the soil to function like a big sponge increasing the absorptive properties of the garden so it can better hang on to moisture which is critical in Colorado’s hot, dry climate.
Making use of freshly chipped mulch in the garden also saves it from being deposited at the dump (and saves the cost of the fees for going to the dump). Most of the truckloads of mulch I have been able to draw into my garden were otherwise on their way to the dump. In my urban garden, I use about two full truckloads of mulch per year. Each truckload is somewhere around 20 to 30 cubic yards of fresh chipped mulch weighing about 500 pounds per cubic yard (depends on the mulch type and moisture content). Over the last ten years of gardening, I have personally distributed at least 20 mulch piles into my garden. That is about 125 tons of material placed on my site – moved by hand in buckets!
But even though mulching the garden is also great for my physical exercise, I would say my number one reason for using a mulch gardening approach is because it creates the most amazing soil! The worms love it and they just keep eating it and creating great soil. My vegetables and fruits are terrific quality because the soil is really good!
Some years back, mulch gardening was made popular through the Back to Eden approach founded by Paul Gautschi, an arborist and lifelong gardener. Back to Eden was an early permaculture gardening approach that received widespread attention because of its successes in rebuilding soils, helping to point the way toward regenerative agriculture. While his soils techniques are based on using almost any organic resource to cover the soil (grass clippings, chop and drop, even rocks), he explains in the documentary film Back to Eden that wood chips are his favorite resource. The key thing is to cover the soil and to promote building healthy soil biota.
If you are considering starting to use this approach in your garden, I would suggest doing some reading up on the technique, watching the Back to Eden documentary, and researching a bit about regenerative soils techniques in general, before getting started. Building premium soil in your garden is a skill set to learn just like composting and other skills.
Once you have decided to go this direction, how do you get started with your first mulch pile in an urban neighborhood environment?
1. Identify an Open Space for a Mulch Pile with No Overhead Powerlines or Obstacles
I was lucky that my home has space on a driveway I can use for a mulch pile behind a closed gate. I start with a clean space for the pile. I like to spend a little time cleaning up any weeds or debris in the space where I am going to put the mulch pile. Make sure you use space that doesn’t aggravate the neighbors too much or break a local neighborhood statute.
Because I mostly do hand placement of mulch, it may take me 3-6 months to work through an entire pile of mulch. Depending on your approach, it’s going to be there for a bit of time. Plan accordingly. If it’s located near your neighbor, be sure to explain to them what the big pile is about…I also try to encourage my neighbors to use as much as they like in their own yard and garden.

2. Get in Touch With a Tree Trimming Company that Has Fresh Chipped Mulch
You want to find a tree-trimming company that has fresh chipped mulch they are willing to share. I have been pretty lucky over the years to have a few companies that were repeat contributors for me.
Try calling the local tree trimming companies in your area and asking if you can get on their list for a delivery. They will call you when they have a full truck that needs to be dumped. There is also an app called “Chipdrop” that may be helpful that matches companies with trucks full of mulch to gardeners nearby that want mulch.
I am also seeing a trend for some companies to be more active in building their own compost piles from chipped materials and selling it as a product. Those folks won’t be sharing mulch for free (but it’s good they are using the fresh chip it to build compost).
3. Ask What the Chipped Mulch is Composed Of
I do usually ask what trees went into the load. Most loads will be from several trimming jobs and will have a mix of tree species. I am not overly concerned about pH issues. Just like building compost, a good mix of species will turn out just fine for the soil. Some chipping equipment makes pretty large chunks and others grind the branches into finer mulch. I have used all kinds successfully. You will almost always have some branches that didn’t get completely chipped. Some of those I cut up. There are also ways to use the branches to build beneficial insect habitat.
Keep in mind that beggars can’t be choosers. If you are getting a free resource, it may not be exactly the type of tree or mix of species you were hoping for. My approach has always been to try to make use of whatever is in a truckload (assuming I am lucky enough to have a load delivered).
One thing I do watch out for are any batches of mulch that have an excessive amount of seeds. This could potentially be a problem for the garden if you suddenly have a million seedlings germinating that you didn’t expect. But again, this is a pretty rare problem.
Case in point, I did get a load of mulch one time with chipped crabapple that had the fruit mixed into the mulch. I accepted it and let the pile sit for a while in the sun. The whole place started smelling like hard cider after a few days with the fruit rotting in the sun! The smell went away fairly quickly, but the thing I didn’t expect was lots of germinating seedlings all over the place after I started using the mulch. The apple seeds were more than happy to grow out in the garden! It took some extra weeding for a few months to pull them all out, but it wasn’t a disaster. Lesson learned (the hard cider way)!


4. Caring for Your New Pile of Mulch
There isn’t a lot you need to do after receiving a pile of mulch except to start moving it into the garden. Remember that it is composed of recently chipped material and will be starting the process of decomposition almost immediately. If you have the luxury of letting the mulch pile sit for a few months and weather out a bit that’s a benefit, but not necessarily essential.
The fresh pile will be warm and steamy for a few days. If it rains or you water it, it may also get some steamy heat going. After a month or so, you may notice some compost forming at the bottom of the pile. This is normal. Worms have ways of getting into the pile too and may be present toward the bottom of the pile in the compost.
You will need to begin distributing the mulch in the garden. Laying down a layer 4-6 inches deep is great. This is a good time to have friends or family over to help!
Some people have cautioned about the impact of fresh mulch decomposing in the garden bed with the concern that their may be competition for nitrogen. Nitrogen is needed to break down the mulch into soil. However, this isn’t a big problem if you keep the mulch on the surface. This has been mostly debunked as an issue (see link).
I personally haven’t experienced any severe problems myself, no yellowing of plants after applying fresh mulch. I keep adding materials to the surface, I don’t mix the mulch into the soil which could possibly have a nitrogen sequestration effect.


